Jumpmaster Document
- Tutorial
- 📖 Introduction
- 🖥️ Panel
- 💰 Monetization & Advertising
- Additional
- 🔗 Sharing Program
- Hosting
- 🌐 Modify Folders & Files
Introduction
Greetings and salutations, welcome to Jumpmaster, a place to create and dig opportunity. Allow me to introduce the platform before you start diving into it briefly.
You can create a jumpscare prank website using the web builder on Jumpmaster. If you’re not familiar with what a jumpscare prank website is, it appears to be a normal site, but when you click anywhere, a sudden pop-up appears to scare someone. Of course, other features make this platform extraordinary. For example, there is an advertising system. Users can upload their advertisements and start bidding to place advertisements on other sites made in Jumpmaster. The whole process uses an in-platform currency, "Capital"; you can acquire Capital through other people bidding for the advertisement spot on your jumpscare website or by sharing the platform through the Sharing Program.
So, without further ado, let's dive into the tutorial.🖥️ Visit the next page — Panel
Panel
Introducing the panel, the core feature of Jumpmaster.

There are three sections with different input options.
General
A little tip for you: you can click anywhere on the preview area to quickly navigate to editing a particular component. Anyway, the general section includes options to edit texts and colors. For texts, just type something interesting. As for the color, use the hex color code; you can enter specific color codes with the symbol # (e.g. #00000).
Upload
The upload section consists of two main components: the image upload and the audio upload. The image upload component is for uploading the photo you'd like to scare your friend with, and the audio upload component is for uploading... a horrific sound effect, let's say.
Misc
In the misc section, you can edit the flashing speed of the jumpscare and enable a few features, including making your site public and monetization. Your site will be public and monetized unless you disable them.
With that in mind, you can now unleash your creativity and make it a surprise.
Monetization & Advertising
Enabling the monetization (by default) feature means your site is in the marketplace, and people can bid for the advertising spot on your website. You will earn Capital (the in-platform currency) accumulatively and immediately right after someone bids on the spot. Then, you can use Capital to bid for others' site advertising spots.
Every transaction is paid using in-platform currency—Capital (C$)

Users can check their remaining Capital on the Profile Page.
Learn the Basic Terms
Bid / Bid Amount
Often refers to the bidding price.
Accumulated Bid
It refers to every past bid accumulated.
Total Website Impressions
The accumulated visits to a website.
Total Advertisement Clicks
The accumulated clicks on advertisements.
PER (Penalty Exclusion Rate)
To ensure that the cost per click is not excessive, sites with poor click performance results are penalized. Site owners can only earn the portion stated within the Penalty Exclusion Rate; then, a portion of the penalty will be referred back to the advertisers.
The Formula of PER (Penalty Exclusion Rate):
PER (Penalty Exclusion Rate) = (Total Advertisement Clicks / Current Bid) x 100%
Learn How the Marketplace Works

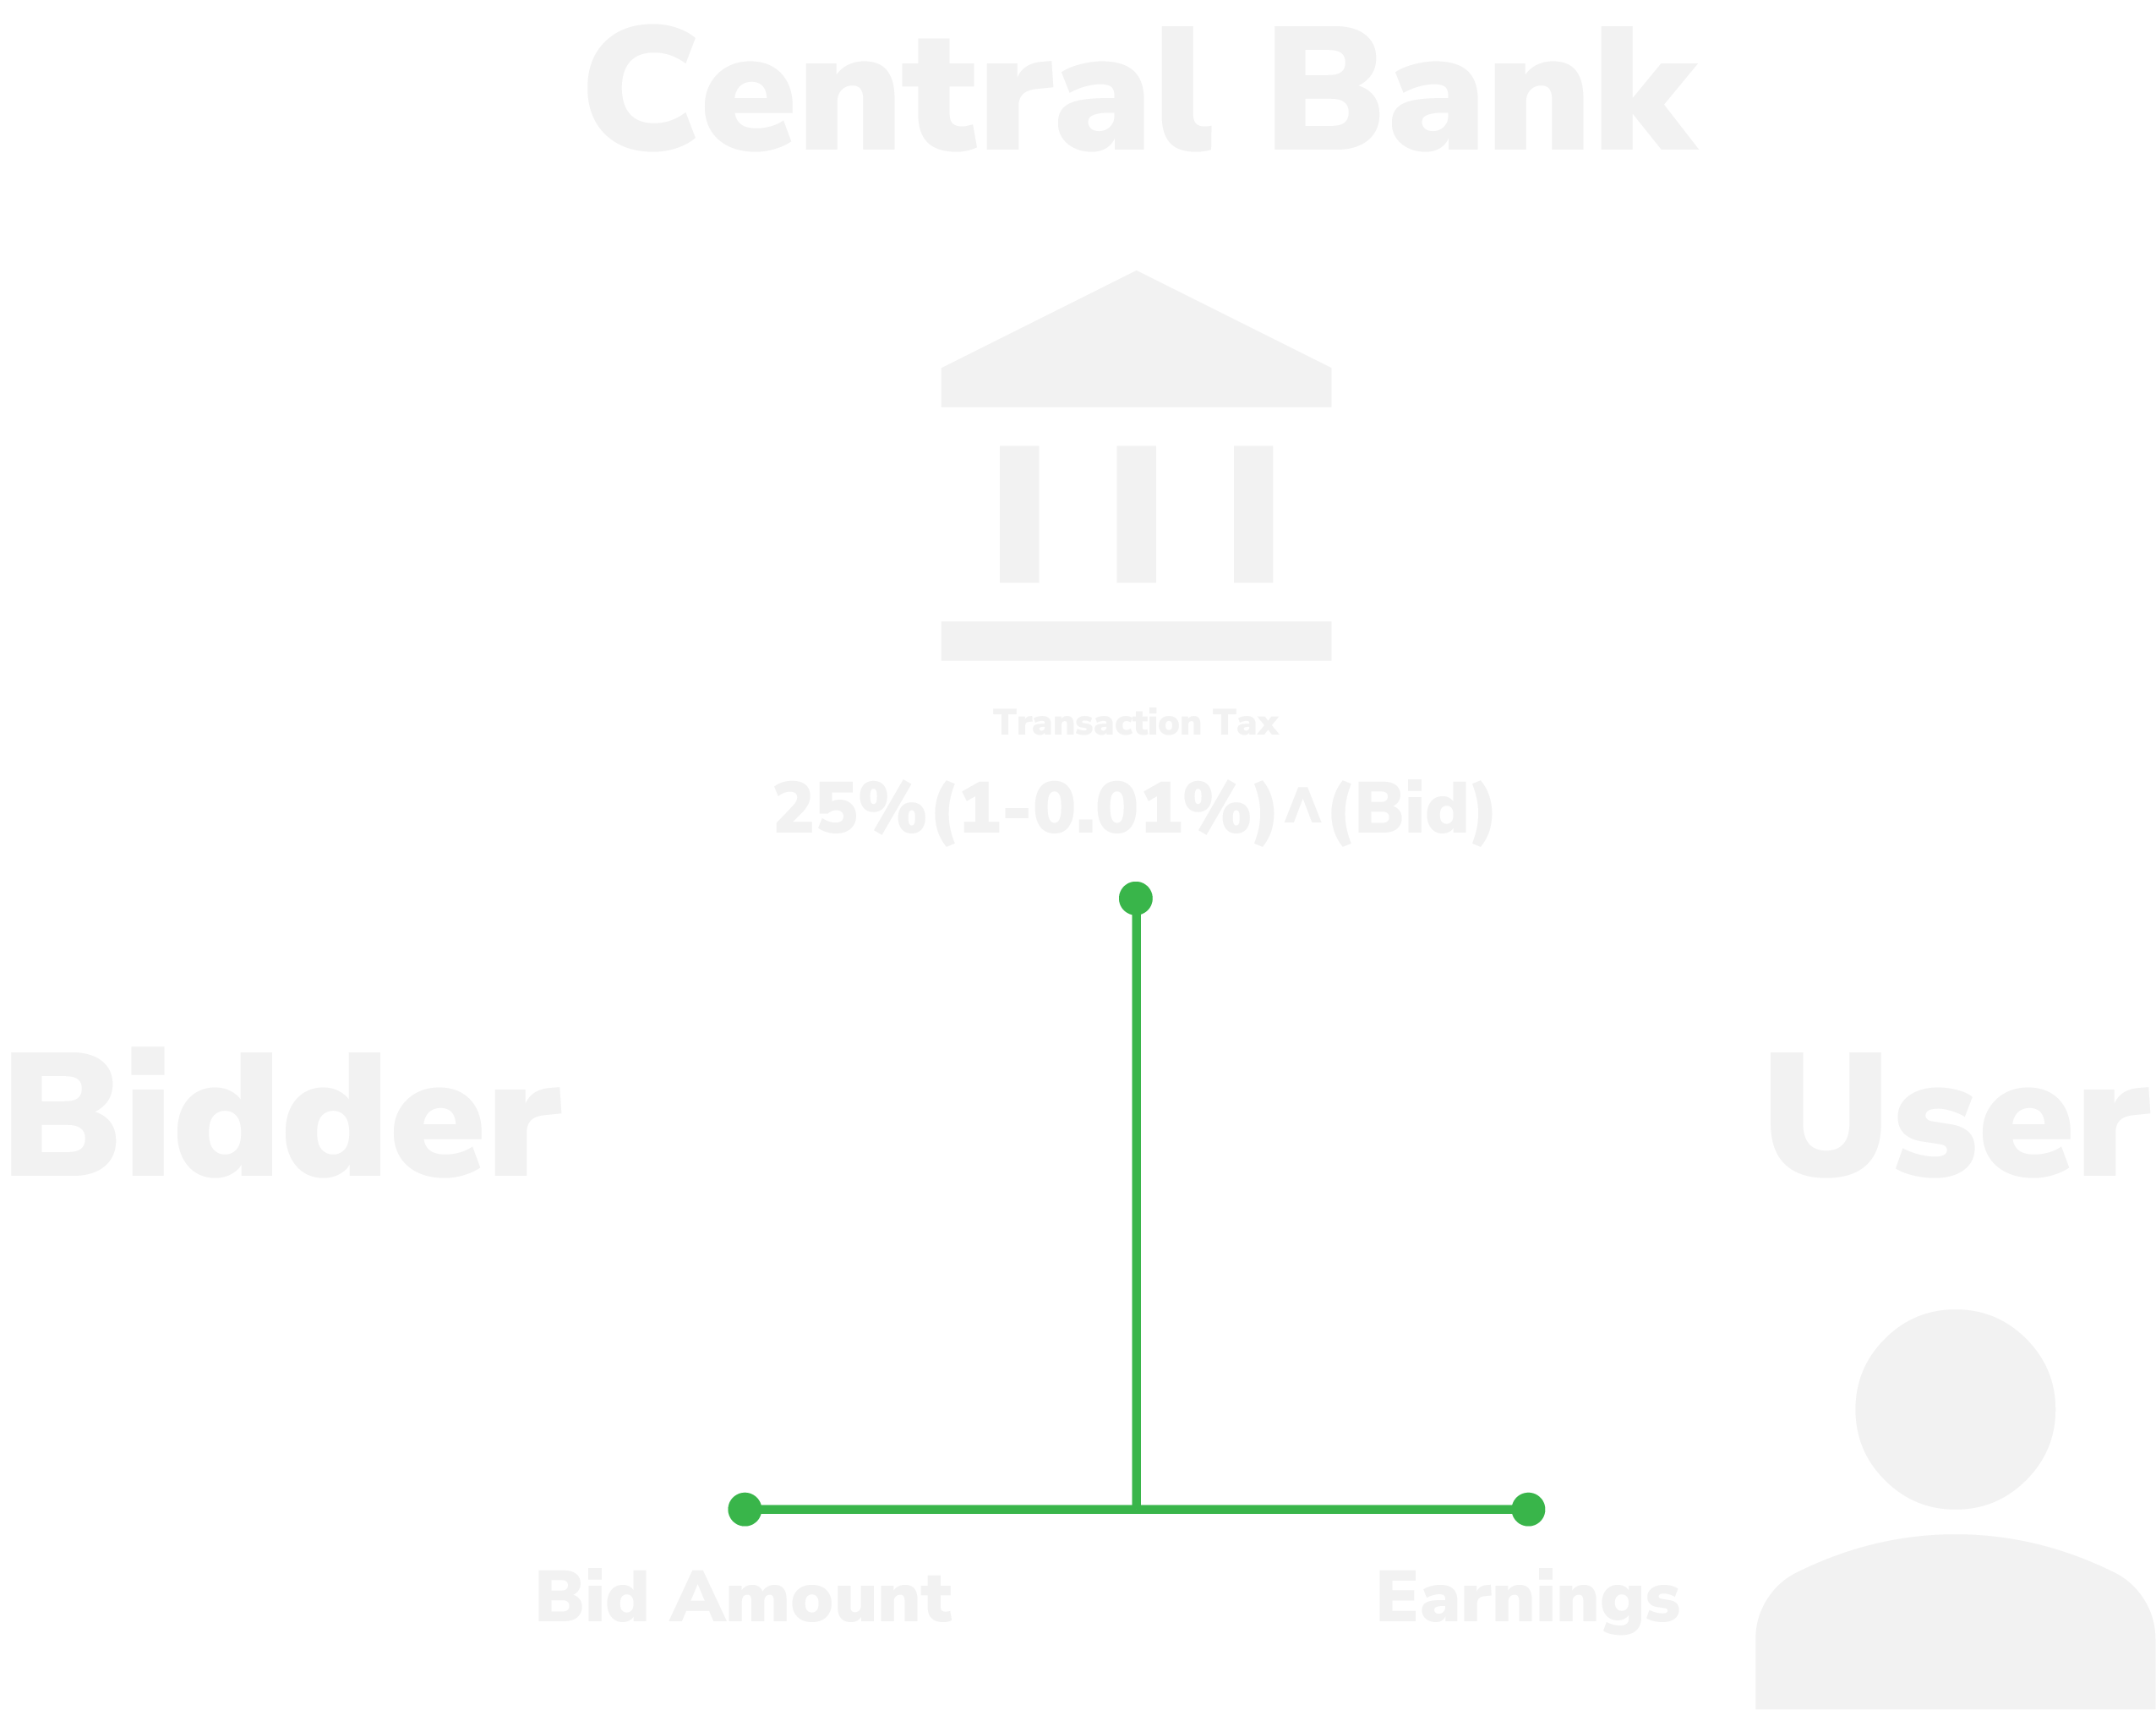
Central Bank
The Central Bank, an account in Jumpmaster, monitors the platform's transactions and monetary changes. It maintains a base money reserve to pay for every new registered account and other Capital needs. Every bidding transaction consists of a transaction tax, the tax rate is decreased according to the bidding amount: the higher the amount, the lower the tax rate. The tax money is then shifted to the Central Bank.
The Formula of Transaction Tax Rate:
Transaction Tax Rate = 25%(1-0.01%)^(Bid)
Bidder
Bidders can be anyone on the platform. You may bid on other people's site advertising spots in the marketplace using the in-platform currency. If the bid is excessively high (the total advertisement clicks on the site are lower than the bidding price), you will receive after-tax compensation. The amount of compensation is based on the Penalty Exclusion Rate; the amount within the rate belongs to the site provider, and the remainder is compensated.
The Formula of Compensation:
Compensation = After-Tax Bid - (After-Tax Bid x PER (Penalty Exclusion Rate))
User
Users are given C$100 on registration. With site monetization enabled, users can earn Capital through the marketplace. In a nutshell, people pay for the advertising spot on your site.
The Formula of Earnings on Bid:
Earnings on Bid = Bid([25%(1-0.01%)^(Bid)] x PER (Penalty Exclusion Rate))
Place an Advertisement

You can go to the Advertisement Page to update your banner ad. Once your advertisement is uploaded, every bid you make changes the advertisement on the particular site to yours.
The Marketplace

In the marketplace, you can see all the monetized websites listed there. The ones with the most total website impressions are listed first. Users can see how much Capital is required to bid for sites' advertising spots, check the sites' data, and view the sites.
🔗 Visit the next page — Sharing ProgramSharing Program
Sharing is caring, and we give rewards to those who care.

Referral
Every user who clicks on your referral link, within a period, if the user registers, you will be rewarded C$100. (In-platform currecy)
Promotional Code
If you find us on social media, you are lucky; you may be given a promotional code that can grant you Capital.
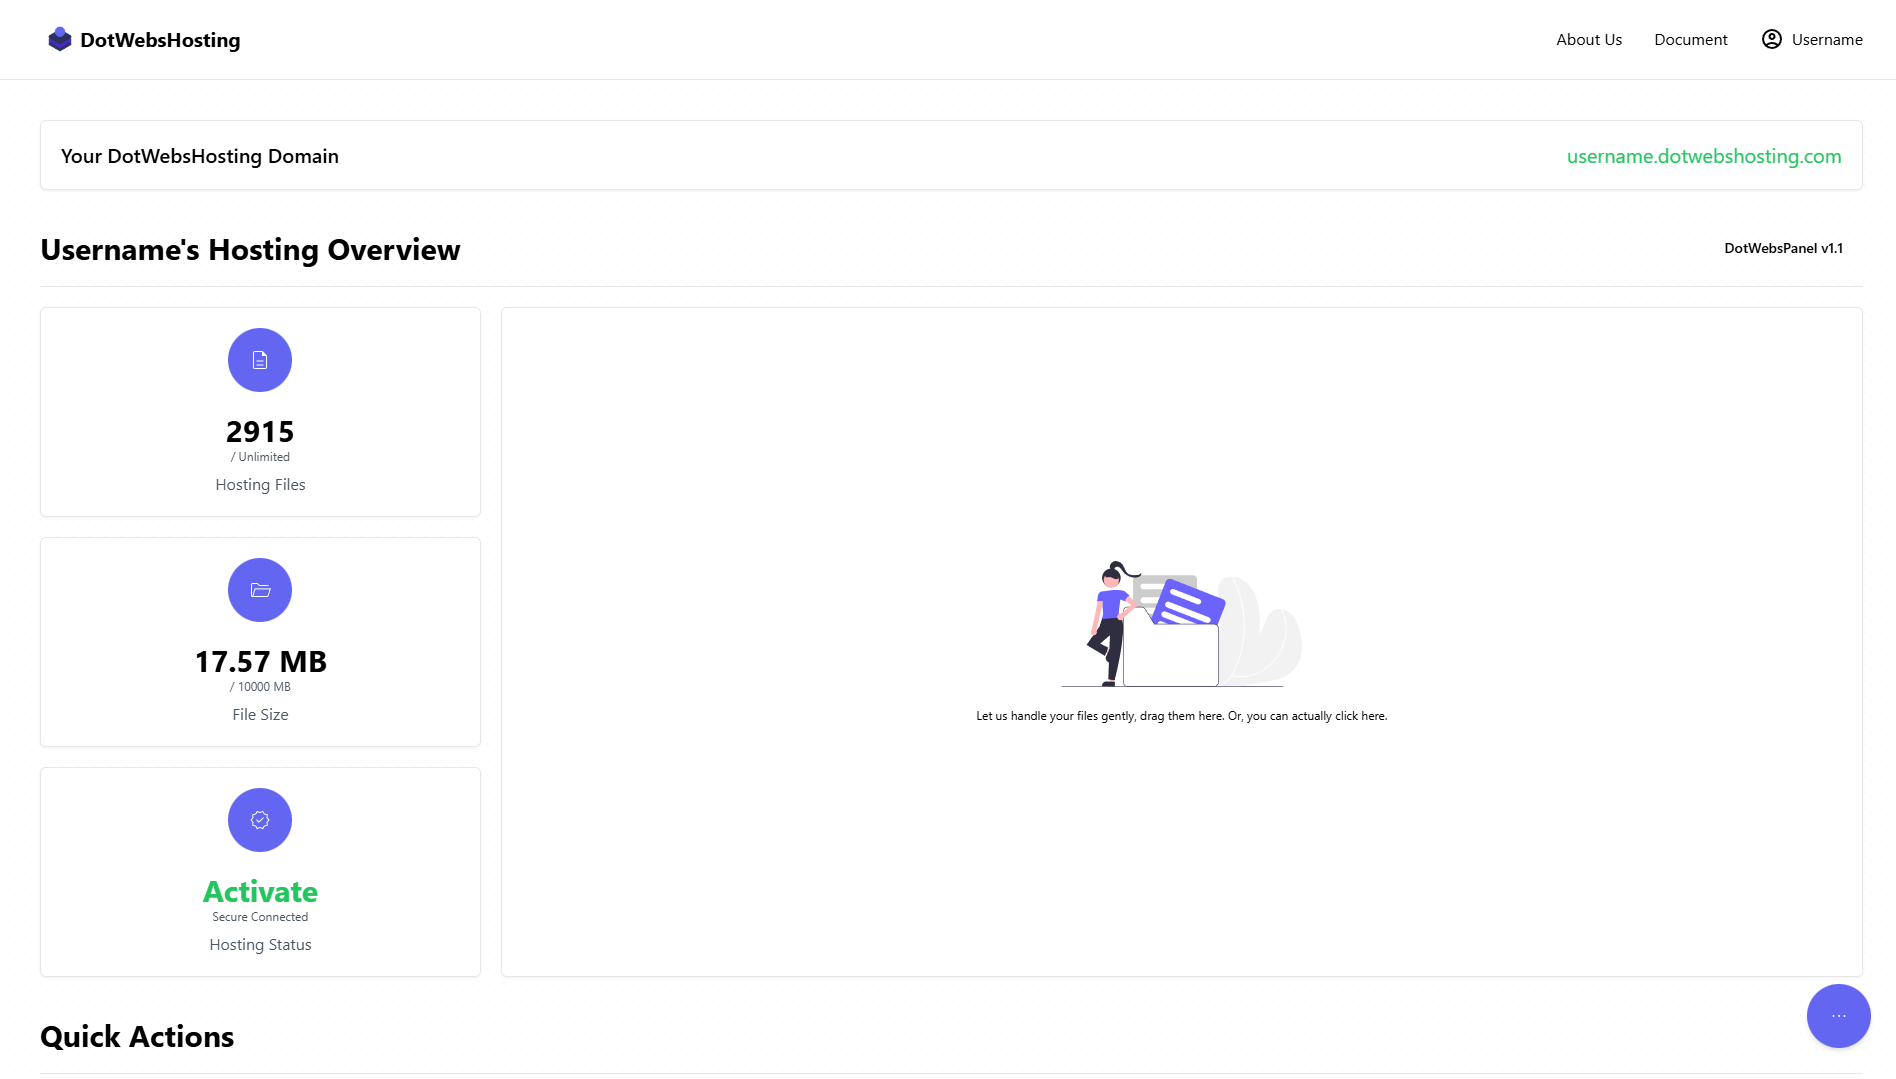
🌐 Visit the next page — Modify Folders & FilesModify Folders & Files
Something probably nobody gives a shit about.
 📖 Visit the next page — Introduction